
To add availability to your calendar
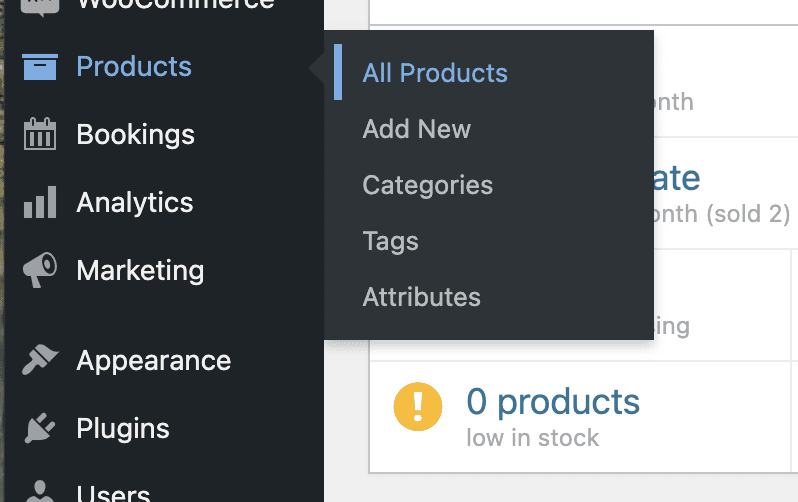
- Go to the dashboard and in the left sidebar choose Products > All Products. You will have to edit each product separately to add more days.

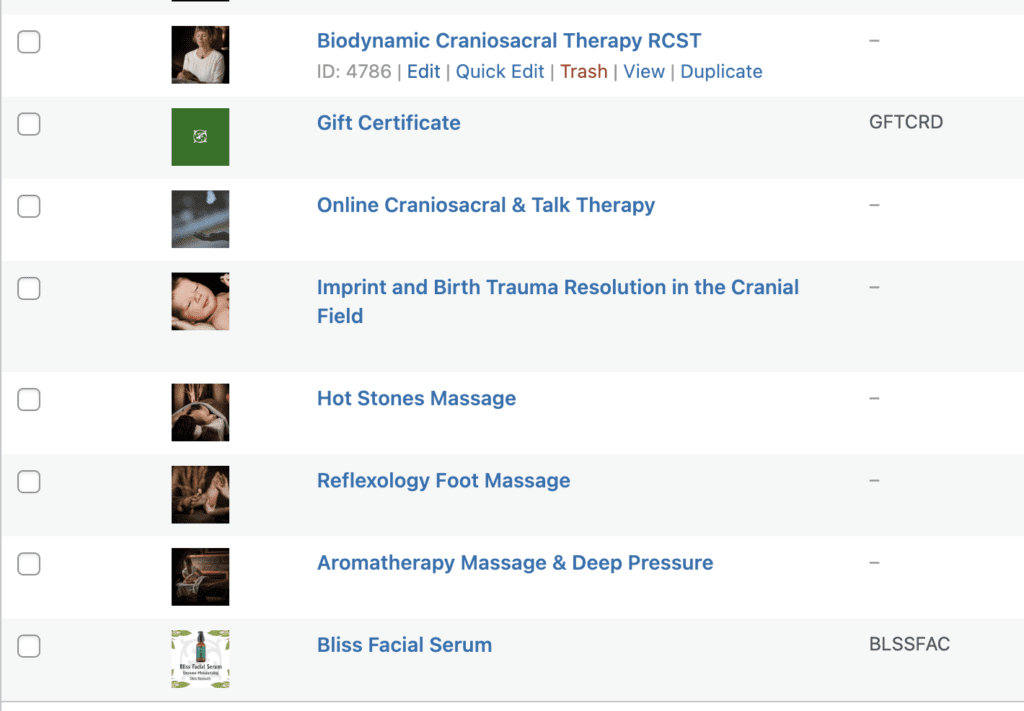
2. Click ‘Edit’ on the first product you want to edit
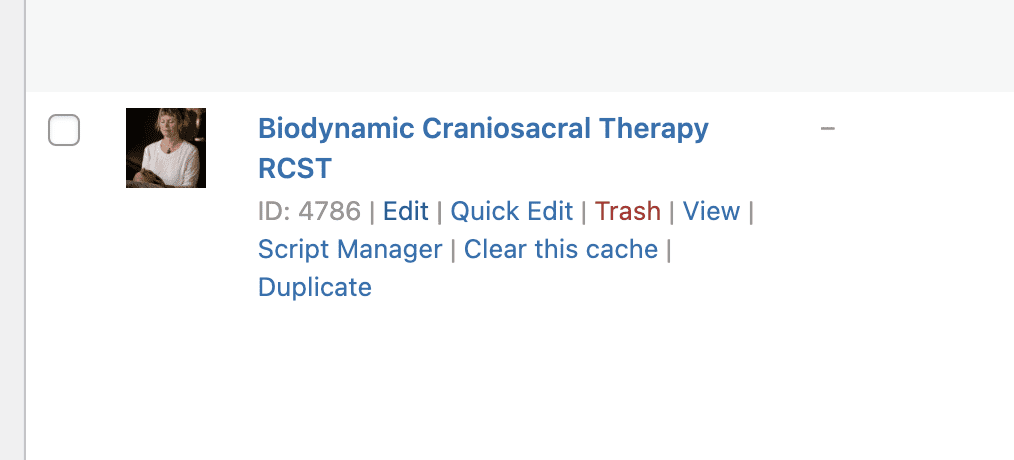
3. Scroll down and click on the ‘Booking Availability’ tab on the left
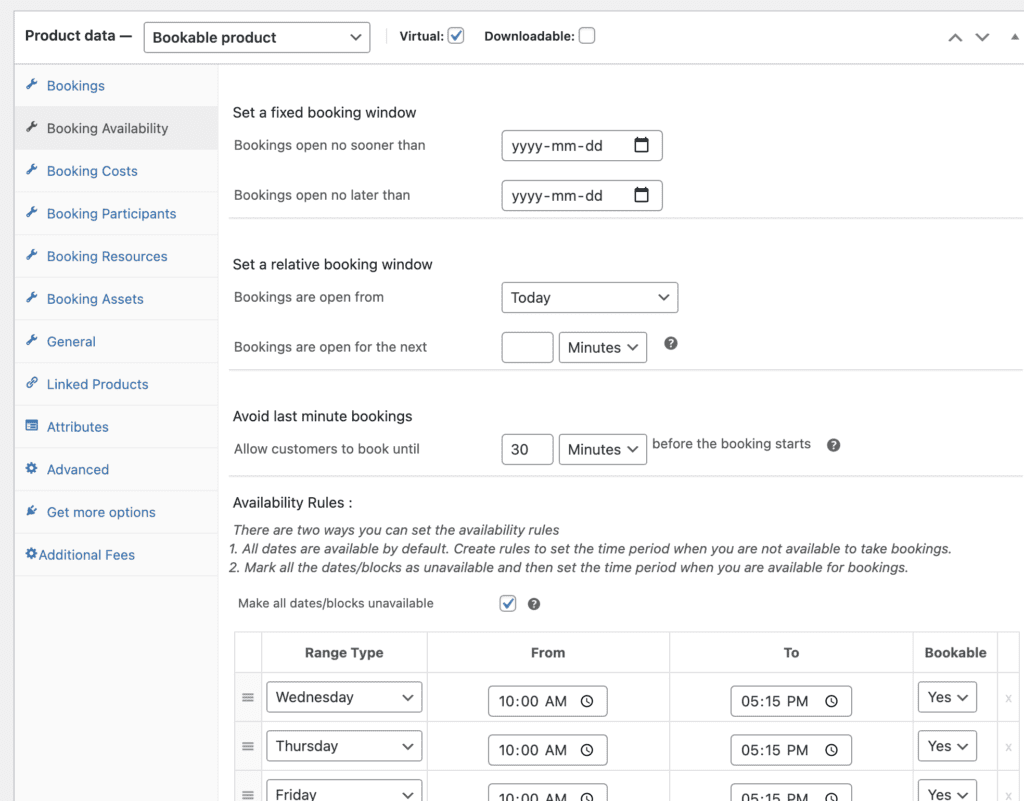
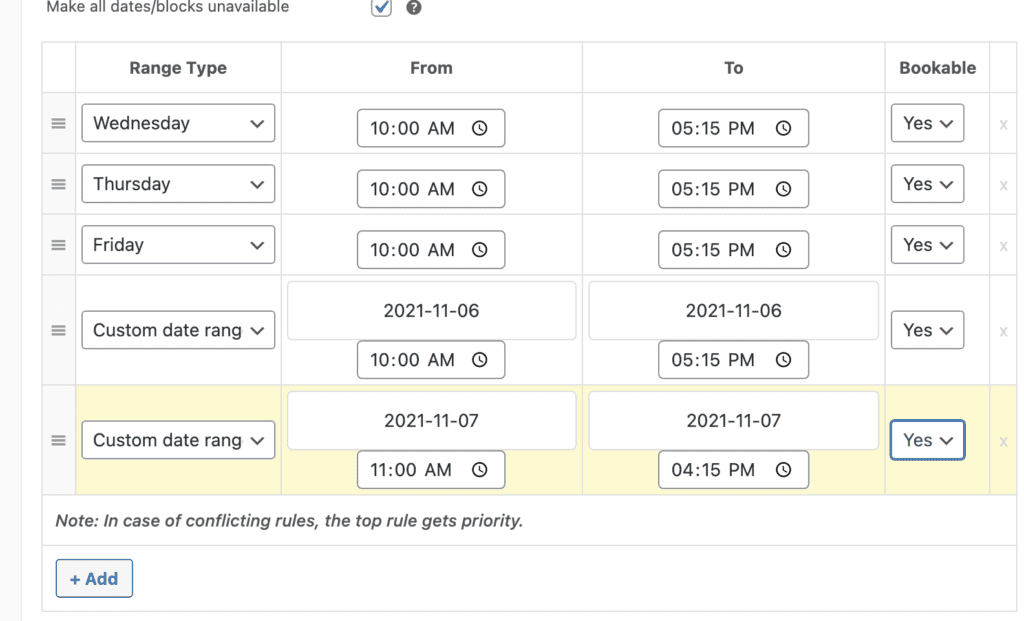
4. Scroll down to the dates and click on the ‘Add’ button. Choose ‘custom date range’ and fill out your date start and end time. Make sure the box on the right says ‘yes’
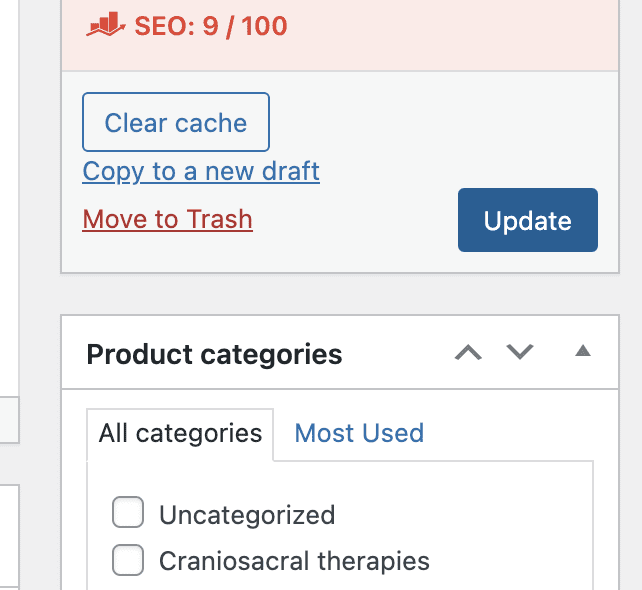
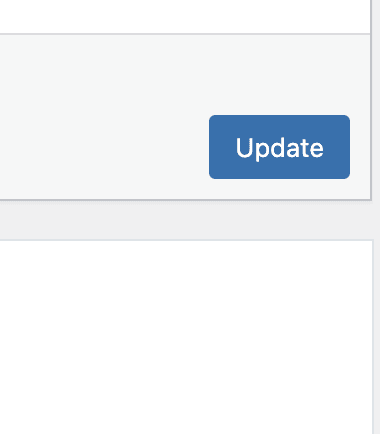
5. Scroll up and click on ‘Update’ on the right. Then click on ‘Clear cache’ (also on right near update button).
6. Repeat this action for each product.
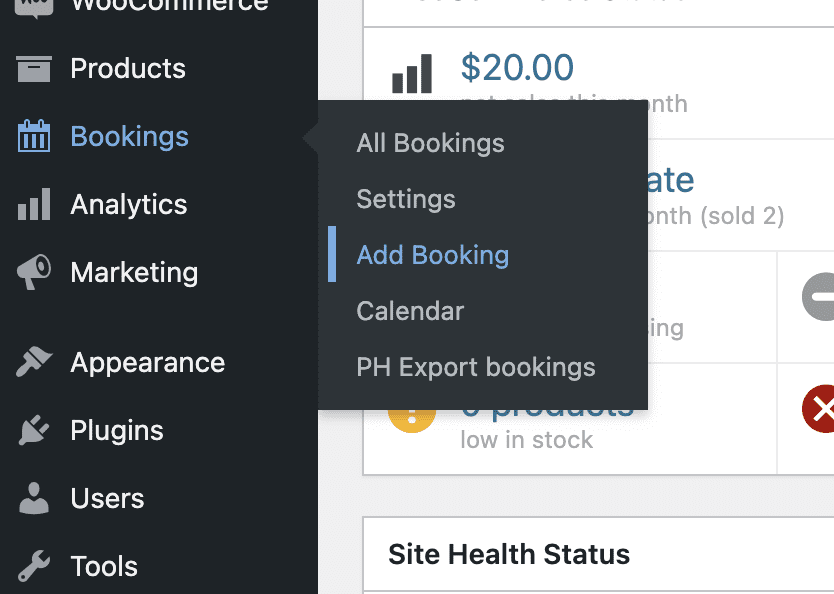
To manually add a booking
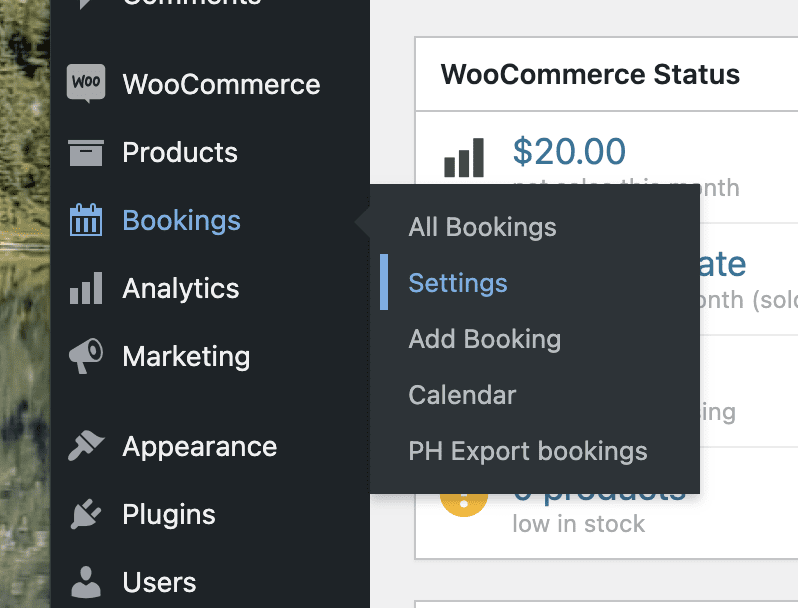
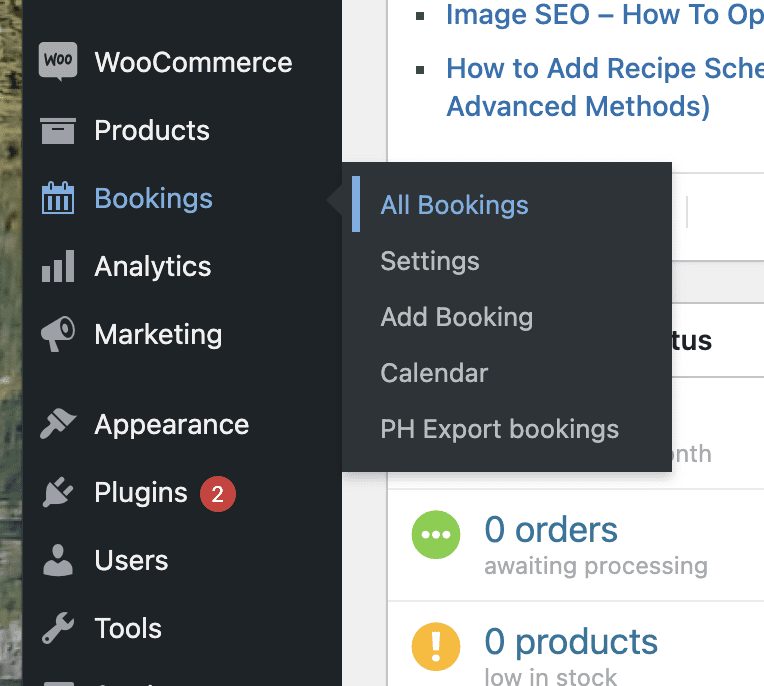
- Go to the dashboard and in the left sidebar choose Booking > Add Booking
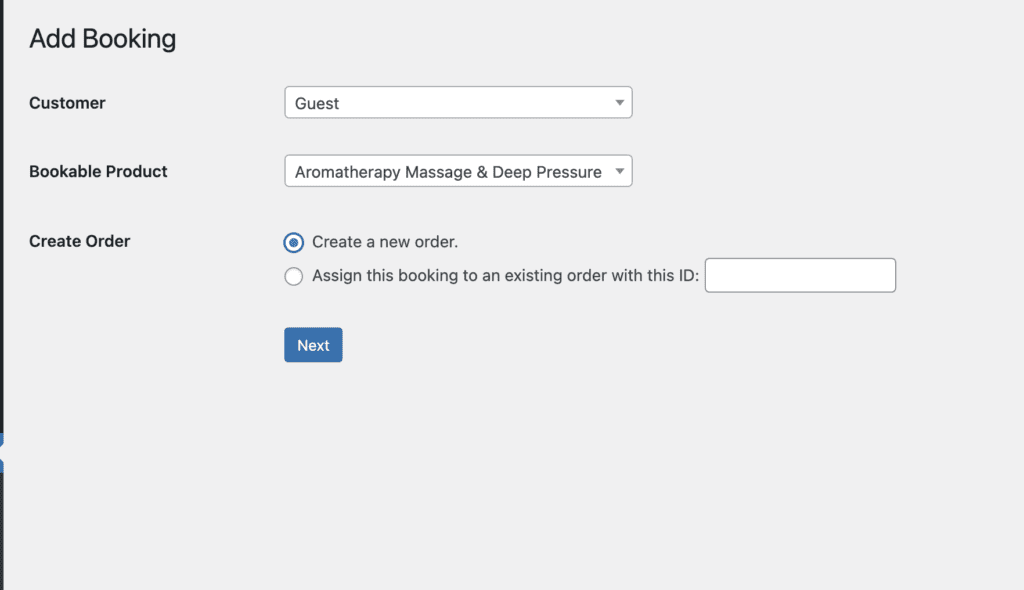
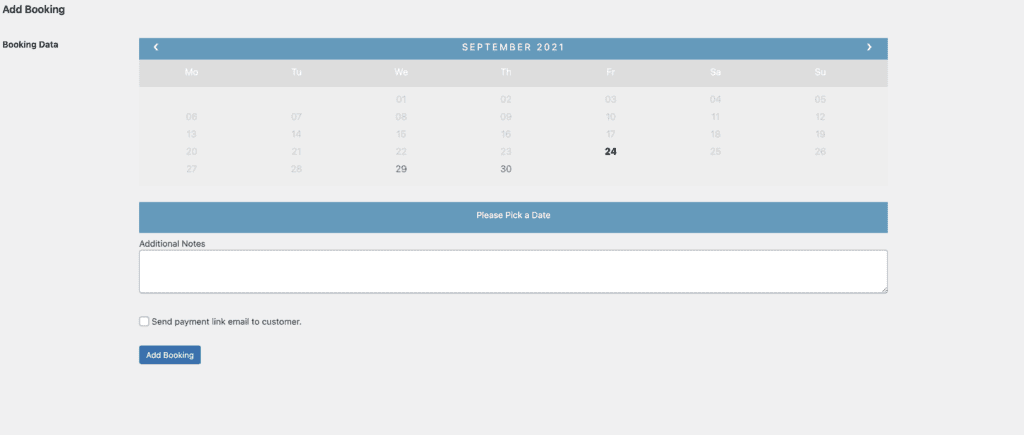
3. Choose your date time, then add booking.
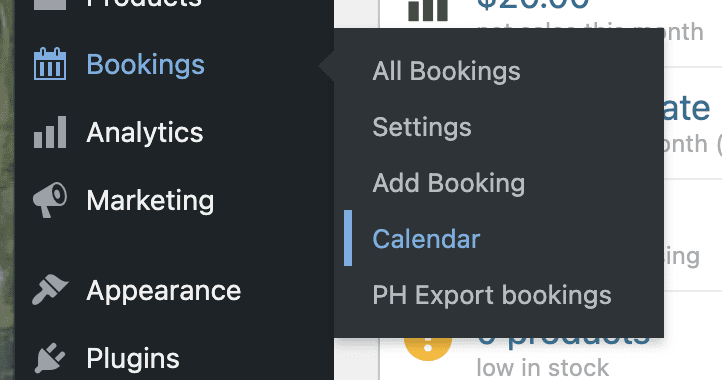
To view your calendar
- Go to Bookings > Calendar
To add days off/block dates globally
- Go to Bookings > Settings
2. Go to the ‘Global Assets’ tab. Click on the ‘Add’ Button and set your custom date range. Make sure the Bookable column is set to ‘No’.
From the left (where the 3 lines are), click and drag that row to the top of the table. Click ‘Save Changes’ .
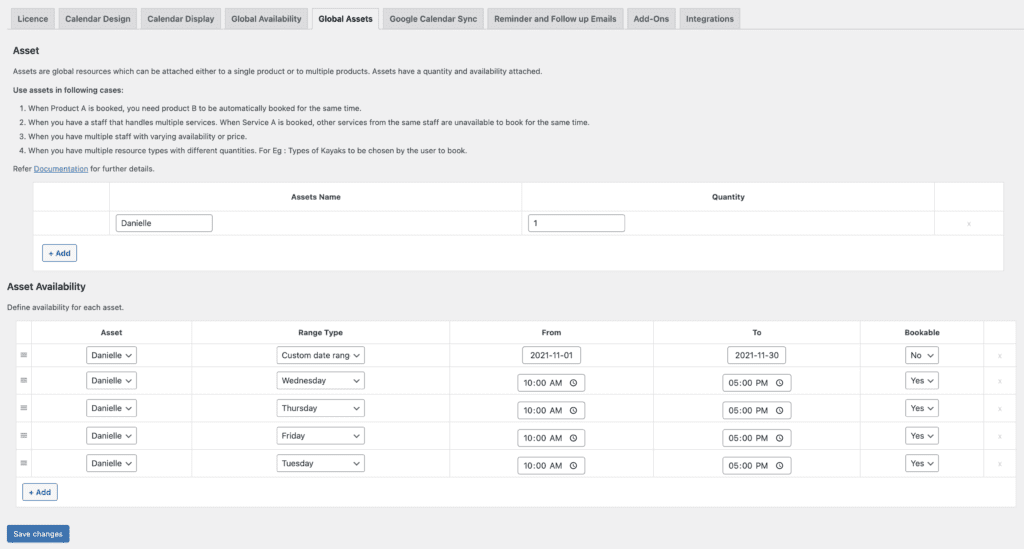
3. Now go to the top bar and click on purge cache > clear all cache. Check your calendar to see if the dates are blocked.
To add days off/block dates for single therapy
- Go to Products > All Products
2. Click ‘Edit’ on the specific therapy that you want to block
3. Scroll down and click on the ‘Booking Availability’ tab
4. At the bottom, you will see the dates you are available (Wed, Thurs, Fri) Click on the ‘Add’ button and move the custom date range row above the available dates (click and drag from the left) *This is an important step, as the first row will take precedence over the others.
Now add the dates you will be away and make sure the ‘Bookable’ column is set to ‘No’.

4. Save your changes and go check your calendar to make sure it worked.
5. Now go back to Products > All products and repeat for each therapy.
To see a list of your bookings
Go to Bookings > All bookings
To delete a booking
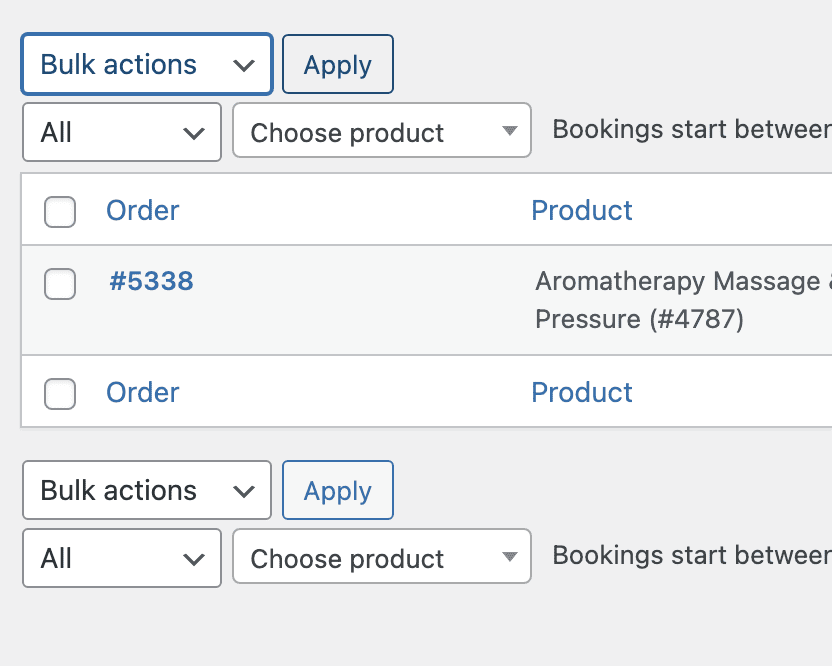
- Go to Bookings > All Bookings
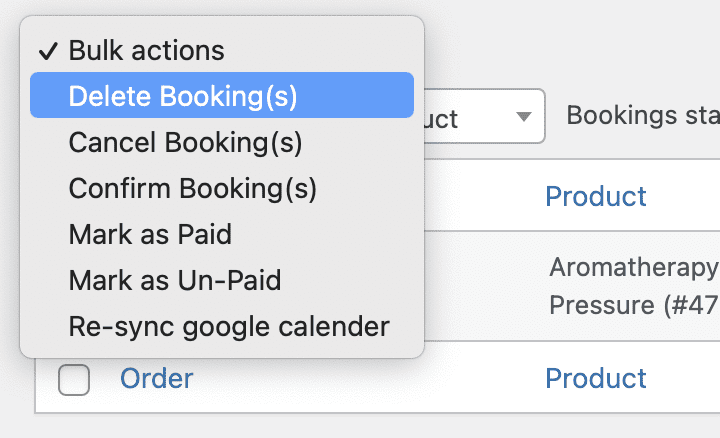
2. Click the box next to the booking you want to edit

3. Go to the dropdown and choose ‘cancel booking’. Then Click ‘Apply’. Once the booking is cancelled, it should be gone from the calendar, along with the buffer time that was blocked (might wanna check this). You can now delete the booking if you want.
4. Click ‘Apply’
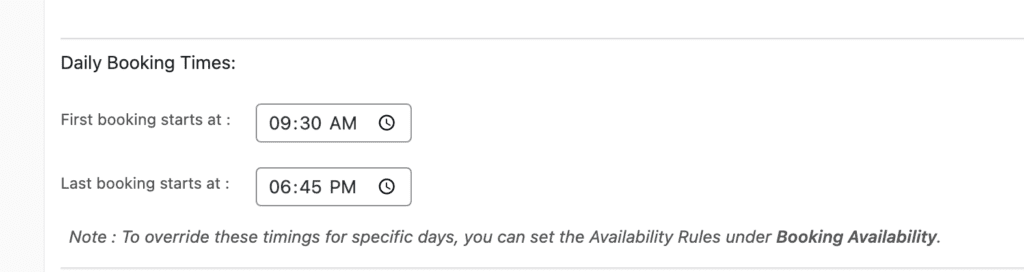
To /Add/Edit Times on specific days.
1. Go into the product page and scroll down to ‘Daily Booking Times’. Set the end time for 15 minutes before you want to finish the day (.i.e. if you are finishing at 7pm then have last booking slot at 6:45)
Update the page and look in the front end (clear cache)

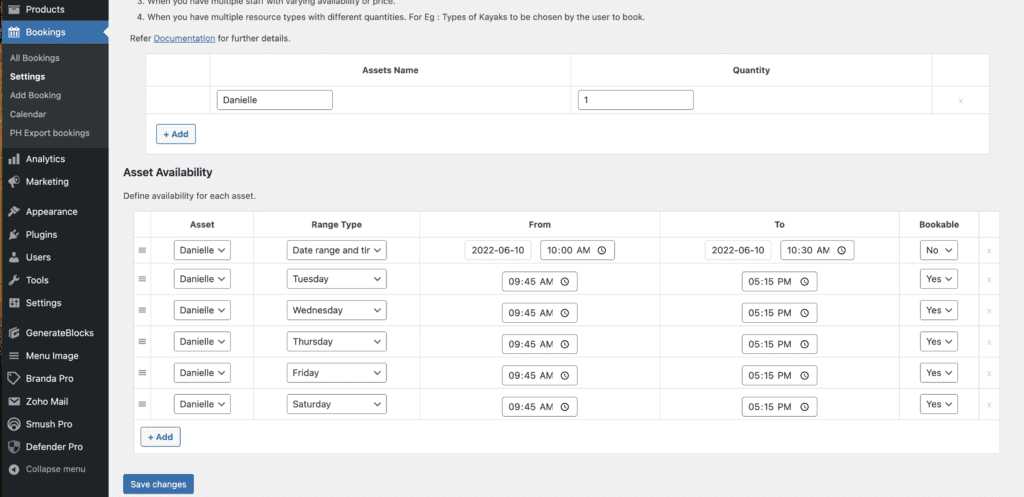
To add a lunch break
- Go into Bookings > Settings > Asset Availability (from left sidebar).
- Add your date range/time slot for lunch break.
- Make sure tab on right is set to ‘No’
- drag that row to the top (using 3 bars on left)
- Save & clear cache
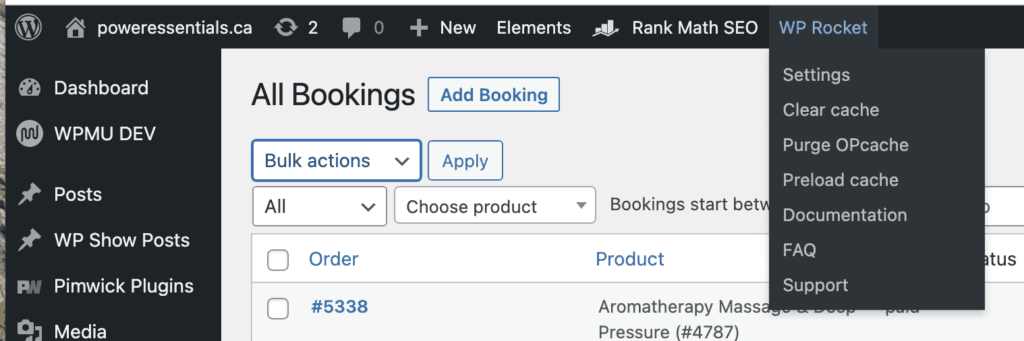
To clear the Cache.
After editing the site, go to the very top admin bar and hover over ‘WP Rocket’. Click on ‘clear cache’ in the dropdown.
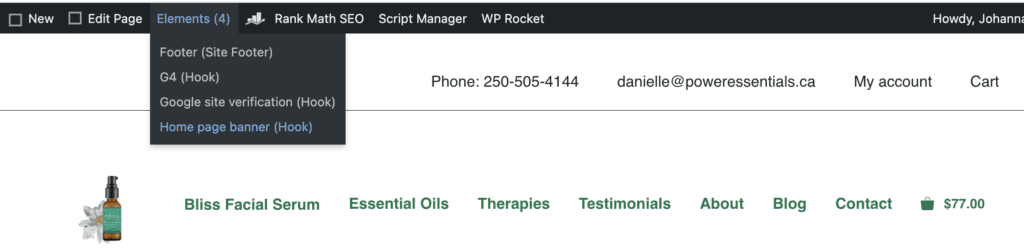
To edit text on home page banner.
- When you are logged in and on the home page, click on the ‘Elements’ link in the top bar. From the dropdown, click on the ‘Home Page Banner (hook)’ link.
2. Edit the text between the h4 tags (do not edit anything else).
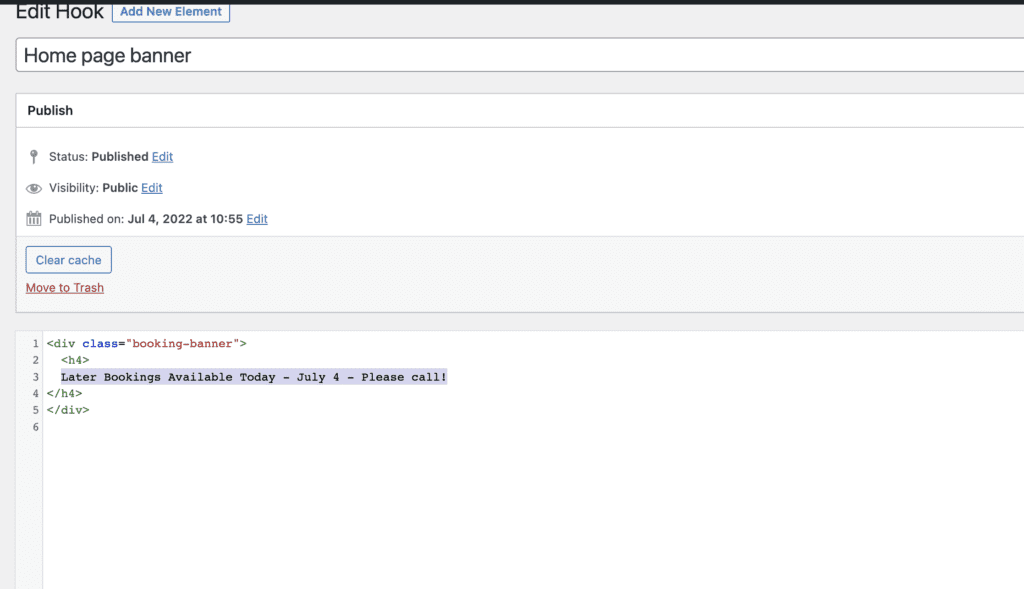
3. click on the update button on the right, then remember to clear the cache.
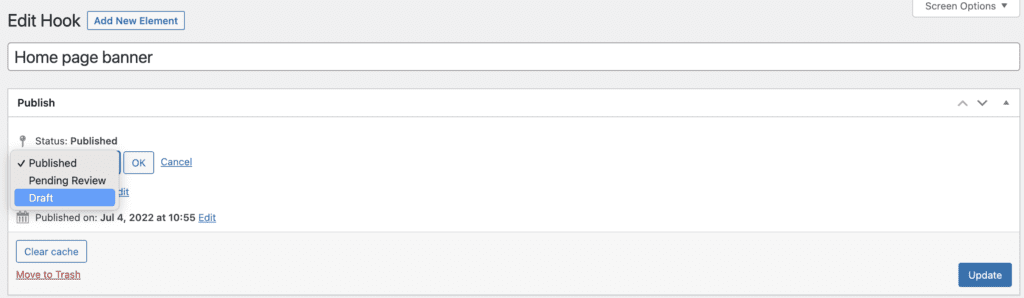
4. **To disable the banner: go to the top of the element where it says ‘status: published’. in the dropdown, change the status to ‘draft’. Click update, then clear the cache.
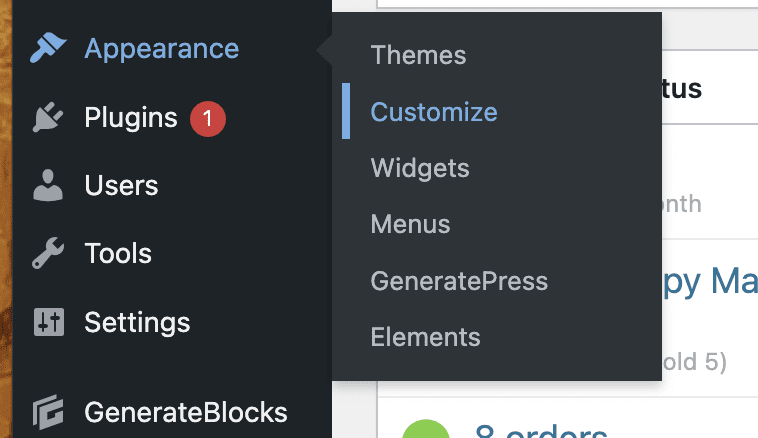
5. To edit the colour of the banner, go to (Appearance) > Customize
6. Go to ‘Additional CSS’
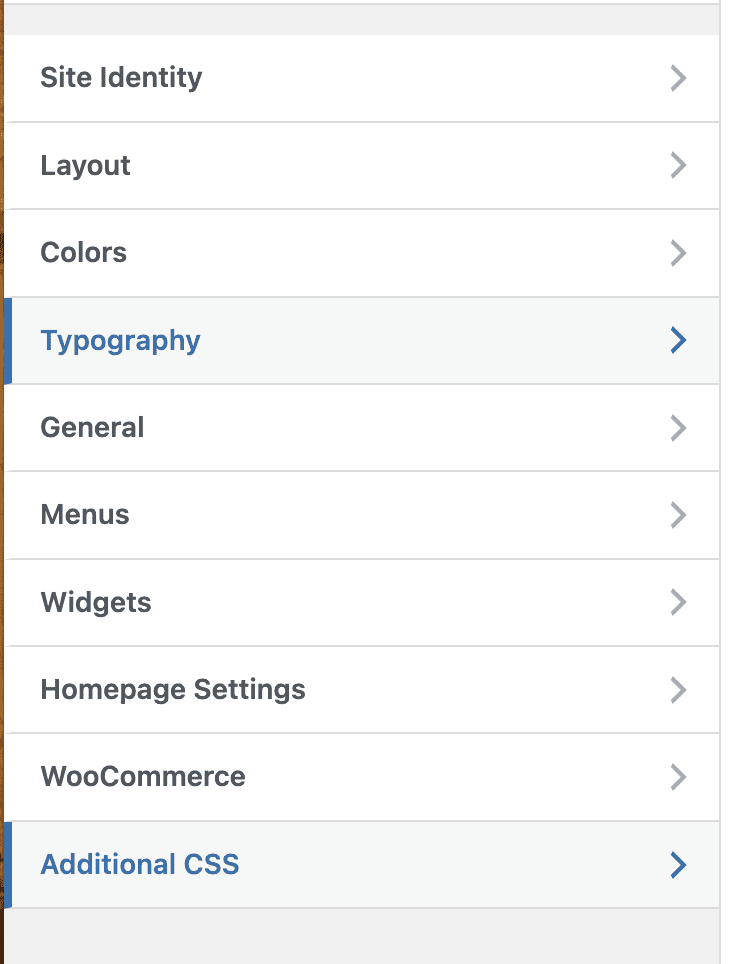
7. Scroll down until you see the ‘Top Bar on Home Page’ Section. You can edit the background color by changing the hex color code.
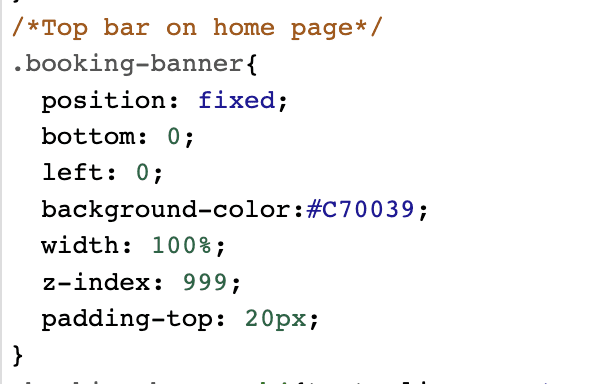
8. Click on update and clear the cache.